Quilting has long been cherished as a form of artistic expression and a means of creating cozy, heirloom-quality pieces.
Among the myriad of quilt patterns available, the French Braid Quilt stands out for its intricate yet visually striking design.
In this comprehensive tutorial, we’ll delve into the world of French Braid Quilts, exploring its history, design elements, and providing a detailed step-by-step guide to create your own masterpiece.
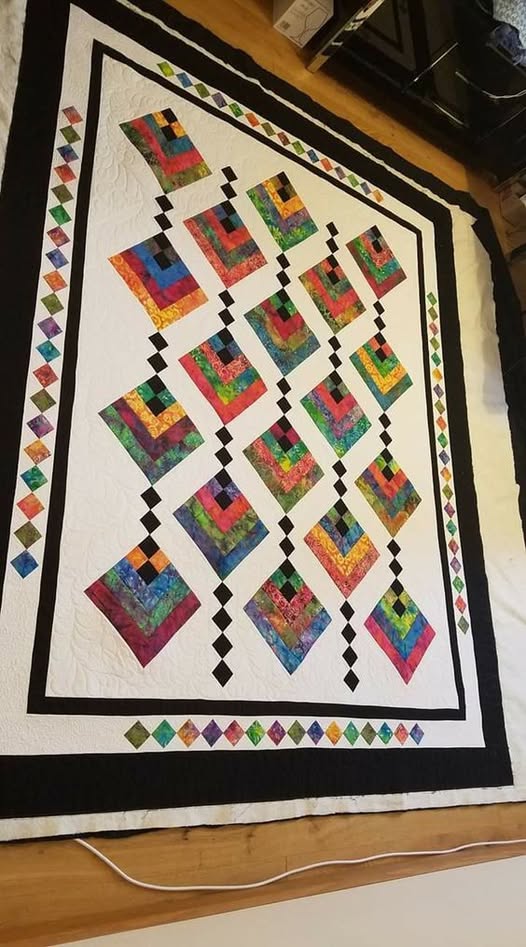
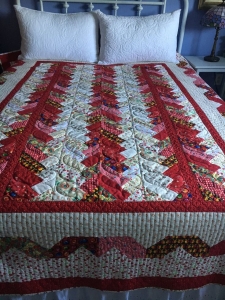
The French Braid Quilt pattern is characterized by its braided, interlocking strips of fabric that create a mesmerizing visual effect reminiscent of its namesake.
Unlike traditional quilts, which often feature uniform blocks or patterns, the French Braid Quilt offers a unique twist with its dynamic arrangement of fabric strips.
This pattern allows for endless variations in color, fabric choice, and layout, making each French Braid Quilt a truly one-of-a-kind creation.
To begin your French Braid Quilt journey, gather an assortment of fabric strips in varying colors and patterns.
Traditional quilting cotton works well for this project, but don’t hesitate to incorporate other fabrics like batiks or even scraps from previous projects for added texture and visual interest.
Prepare your fabric strips by cutting them into uniform widths, typically ranging from 2 to 3 inches, depending on your desired finished look.
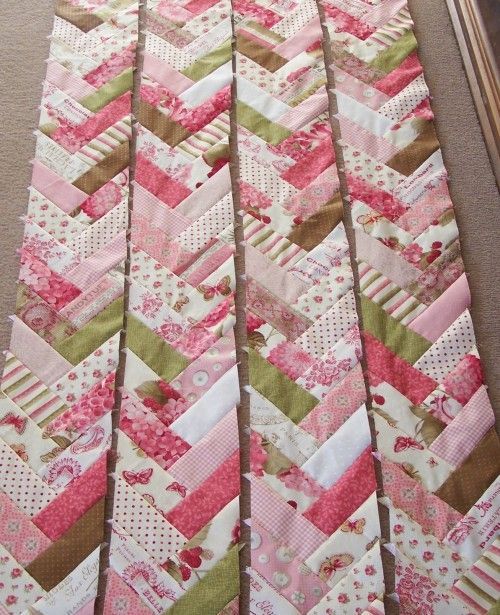
Start by selecting a focal fabric for the center of your quilt.
This fabric will serve as the anchor for your French braid design.
Cut a strip of this fabric to your desired width and length, keeping in mind the overall size of your quilt.
Next, choose your first contrasting fabric strip and align it along one edge of the focal fabric, right sides together. Sew the strips together using a quarter-inch seam allowance, pressing the seam open to reduce bulk.
Continue adding fabric strips in a braided fashion, alternating colors and patterns to create visual interest.
As you progress, gently curve the strips outward to mimic the shape of a braid, ensuring that each subsequent strip slightly overlaps the previous one.
Take care to maintain a consistent seam allowance throughout to ensure smooth, even edges.
Once you’ve completed the braid pattern to your desired length, trim any excess fabric from the edges to create a clean, straight edge.
From here, you can choose to add borders or additional embellishments to frame your French Braid Quilt and enhance its visual impact.
Consider incorporating a complementary border fabric or adding a final row of fabric strips to create a finished border.
After adding any final touches, layer your quilt top with batting and backing fabric, then quilt as desired to secure the layers together.
Whether you opt for simple straight-line quilting or intricate free-motion designs, quilting adds texture and dimension to your French Braid Quilt, elevating it from a mere craft project to a true work of art.
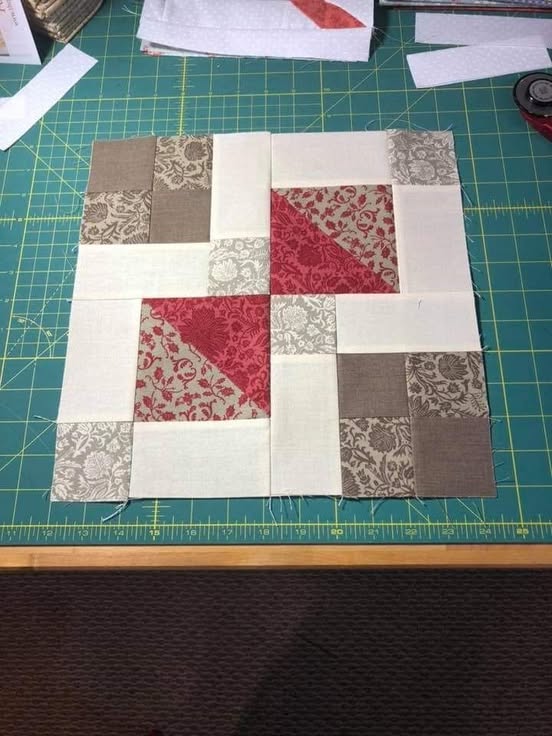
As a bonus, let’s walk through the process of completing a quilt block using the French Braid pattern. For this example, we’ll create a single block measuring 12 inches square.
Repeat these steps to create additional blocks as needed, then assemble them into rows and finally into a complete French Braid Quilt top.
With each block you create, you’ll hone your quilting skills and unleash your creativity, resulting in a stunning quilt that’s sure to be cherished for years to come.
