Few things feel as rewarding as finishing a handmade project: the weight of a crochet scarf draped over your knees on a cold day, or a patchwork quilt finally taking shape after months of patient stitching. That sense of pride, though, quickly turns to worry when it’s time to care for your handiwork—especially the first time you wash it, or when a stray thread appears after hours of careful work.
I still remember how anxious I felt before washing a crochet shawl I’d made for my mum. I was convinced it would stretch out or the colours would run, and nearly left it untouched out of fear.
If you’ve ever made something with your own hands, you know that feeling: the attachment is strong, and the thought of ruining it with one wrong move is enough to make anyone hesitate.
The safest way to wash handmade crochet pieces
Crochet, especially when crafted with fine yarns or openwork stitches, needs gentle handling when it comes to washing. The mistake I see most often is tossing crochet in the washing machine on a regular cycle, or using hot water to save time.
Instead, the safest method is always to hand wash in cool or lukewarm water (no hotter than 30°C), using a mild, pH-neutral liquid detergent that’s free from enzymes or optical brighteners. Everyday detergents, especially those that promise to “do it all”, can leave natural fibres rough or faded.
It’s worth testing a small, hidden area first if you’re unsure.
Let the piece soak fully, then gently move it through the water without rubbing. The trick is to be as gentle as possible—the less friction, the better.
If you come across a stain, treat just that spot with a little diluted detergent and a soft cloth, rather than scrubbing the whole piece. I’ve used this method on a multicoloured rug and found it prevents marks and snags.
Squeezing or twisting crochet too hard can misshape the stitches. Being careful at this point will keep your project soft and looking new for much longer.
Dica importante: For wool, cotton or hand-dyed yarns, always use a fragrance-free, dye-free detergent and keep the water cool. For vintage or heirloom pieces, test your process on a small, hidden patch first.
Drying and reshaping your crochet creations
Once you’ve washed your crochet, drying it properly is key. My go-to is the “towel roll” method—a lesson I learned after a few failed attempts with wringing and kitchen towels.
Lay your damp crochet flat on a clean towel, roll it up gently like a Swiss roll, and press down to absorb the water. No twisting needed—the towel will do most of the work.
This helps the fabric dry evenly and avoids pulling it out of shape. Unroll the towel once the piece is no longer dripping but still damp. Now for the important bit: move your crochet to a flat surface, such as a foam blocking mat, and gently pin the edges with rust-proof T-pins to restore its shape and size.
I’ve skipped this step before and regretted it—a once-straight table runner ended up crooked after drying. Taking a little time to shape your work while it’s damp makes all the difference. Adjust the corners, smooth the sides, and let it dry flat and undisturbed.
If you don’t have a blocking mat, a clean towel on any flat surface will do, but always dry pieces flat rather than hanging them. Hanging can stretch the stitches, particularly in larger projects.
Resumo rápido: Absorb excess water using the towel roll, reshape while damp, and dry your crochet flat—never on a line.
Caring for handmade quilts: inspection and washing tips
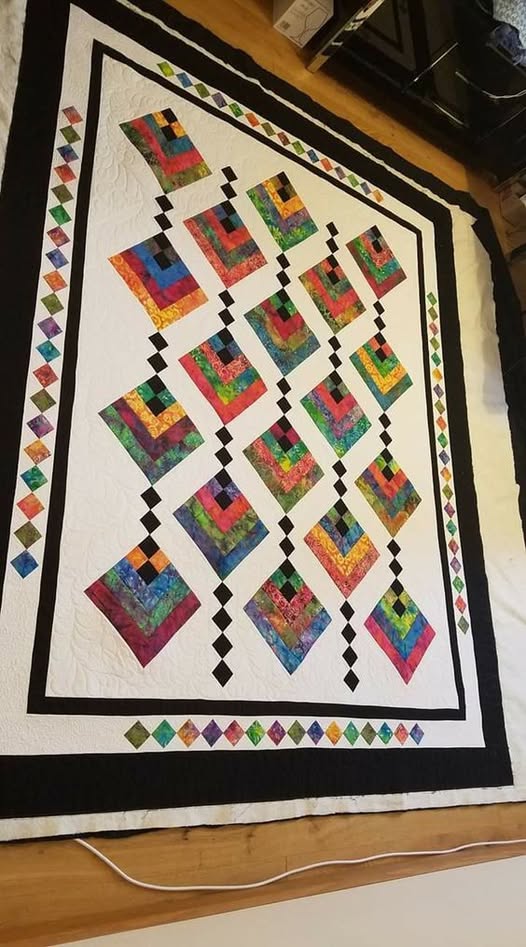
Handmade quilts, whether patchwork or filled with synthetic wadding, come with their own set of challenges. Before you reach for the washing machine, give your quilt a close inspection: lay it out, look for loose threads, open seams or tiny holes. Good natural light helps, or even a torch for dark fabrics.
Sort out any repairs before washing. Mending a dry quilt is far easier than trying to sew damp fabric, which can stretch or unravel.
I learned this lesson after losing an entire border by fixing it post-wash. Use matching thread and a sturdy stitch to secure any weak spots—this small step prevents bigger issues later.
When it’s time to wash, use the most delicate cycle with cold water and make sure the quilt has space to move. Choose a mild detergent without dyes or fragrance, like those for baby clothes.
For quilts with lots of bright colours, a colour catcher is a handy safeguard. If your quilt is especially old or fragile, hand washing in cold water is safest, using gentle motions rather than agitation.
Don’t worry too much about filling the machine—what matters is that the quilt has enough room to move freely. Adequate water flow reduces friction on seams and helps the quilt wash cleanly.
Dica importante: Always repair any loose threads or minor damage before washing. This keeps your quilt in good shape for years to come.
How to dry and treat stains on your quilts
Drying is just as important as washing for quilts. Those with polyester filling tend to dry faster and don’t get as heavy when wet. Cotton or hand-stitched quilts need a more careful approach.
After washing, never twist or wring out a quilt. The best method is to gently tumble dry on a low heat until just damp, then lay flat on a clean bed or table—ideally on a sheet—to air dry fully.
For stains, act quickly: dab the area with cold water, then gently apply a little mild detergent. Wait a few minutes and rinse carefully—avoid rubbing or scrubbing the fabric itself.
If the stain lingers, repeat this targeted approach rather than washing the entire quilt again. This helps protect both the fabric and the stitching.
During damp weather, I turn the quilt over a couple of times while drying to keep the air flowing and prevent that musty smell. For especially large quilts, dry part of the fabric on a surface, then rotate to ensure even drying. Direct sunlight can fade colours, so avoid leaving quilts in bright sun for extended periods.
Resumo rápido: For best results, dry quilts by tumbling on low until damp, then finish flat. Treat stains gently and as soon as possible.
Storing your handmade textiles for long-lasting beauty
Good storage is vital for keeping crochet and quilts in top condition. Fold items gently, avoiding sharp creases or corners. Every few months, refold in a different direction to keep lines from setting in.
A cool, dry, and shaded place is best. Store your pieces in cotton bags or old pillowcases instead of plastic bins, which can trap moisture and cause mould or yellowing. I once lost a favourite crochet cushion to mildew after sealing it in a plastic bag—lesson learned.
When stacking several items, place a sheet of acid-free paper between layers to prevent colours from transferring and reduce friction. Don’t cram too many pieces together; let them breathe. Hanging heavy crochet or quilts for long periods can distort their shape, so flat storage is safer.
To deter moths or insects, tuck in a lavender sachet or a cedar ball—but make sure it’s wrapped in fabric so it doesn’t come into direct contact with your textile. Not only does this protect, but it also keeps your storage area pleasantly scented.
Dica importante: Store handmade items flat and folded, in a breathable space, and avoid hanging heavy pieces for long stretches to protect their shape.
What’s your care routine?
Each handmade piece has its own story, and how you look after it becomes part of that history. Do you have any special tricks for washing or storing your creations? Maybe you’ve had a close call that taught you something, or you’ve found a neat way to keep everything tidy without damaging your work.
Leave your thoughts and tips in the comments—every maker learns little hacks to keep their creations looking their best. What’s your go-to method for keeping your handmade treasures in perfect condition, year after year?
Disclaimer: This content is for informational purposes only and does not replace professional conservation advice for valuable or antique items.