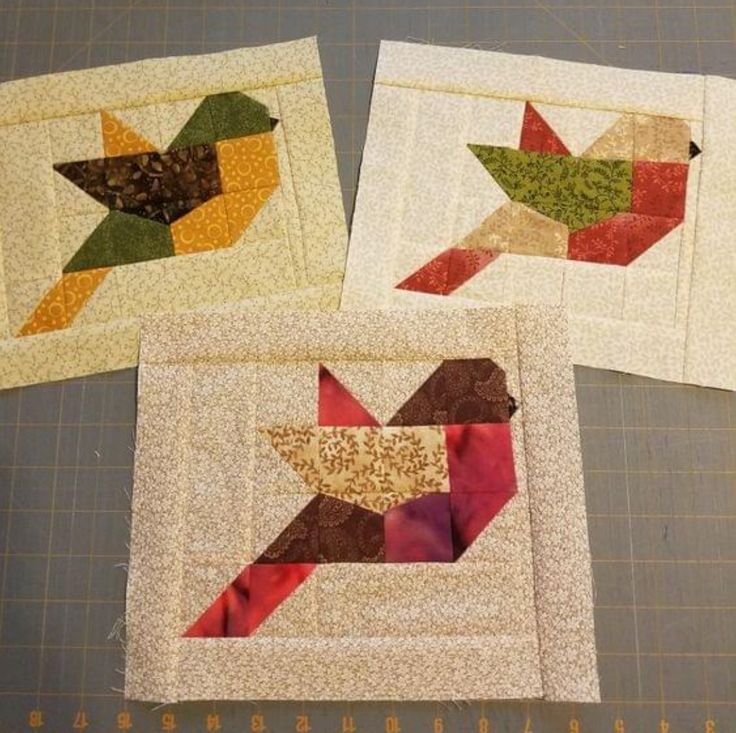
Bird-themed quilts have long been admired for their whimsical charm and timeless appeal.
Incorporating bird motifs into your quilting project adds a touch of nature’s beauty and grace to any space.
From delicate songbirds to majestic birds of prey, there is a wide variety of avian inspiration to use when designing your quilt pattern.
When it comes to selecting fabrics for your bird quilt, consider using a mix of solids, prints, and textures to add depth and visual interest to your design.
Opt for colors that reflect the natural tones of feathers, such as shades of blue, green and brown, interspersed with pops of vibrant reds, yellows and oranges to mimic the plumage of your favorite birds.
Getting started: materials and tools
Before diving into your quilting project, gather all the materials and tools you need to bring your bird quilt to life.
Here’s a list of essential items you’ll want to have on hand:
1. Layers: Lay the quilt top right side up, followed by the batting and then the backing fabric, ensuring all layers are smooth and flat.
2. Basting: Use safety pins or temporary adhesive spray to baste the layers together, holding them in place for quilting.
3. Padded: Select a quilting design that complements your bird-themed quilt and stitch through all the layers using your sewing machine or hand quilting techniques.
4. Binding: Trim excess fabric from the edges of the quilt, then attach binding strips to finish the crossed edges and complete the quilt.
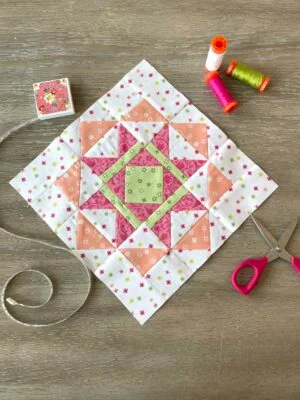
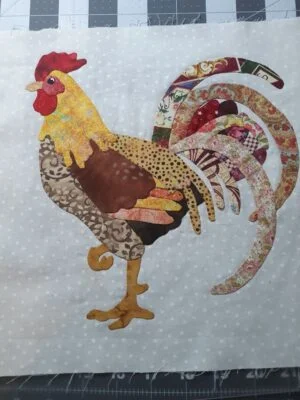
Creating Your Bird Quilt Pattern
To create a stunning bird quilt, you will need to follow a well-designed pattern. Here is a basic bird quilt pattern to get you started:
- Block Design: Start by designing your quilt blocks. Each block will feature a central bird motif surrounded by coordinating fabric strips.
- Fabric Cutting: Cut the fabric into the following pieces for each quilt block:
° Bird motif: cut a square of fabric measuring 20 x 20 cm.
° Background strips: cut four strips of fabric measuring 5 x 20 cm each.
° Border strips: Cut four strips of fabric measuring 5 x 30 centimeters each. - Assembly: Arrange the fabric pieces according to the block design and sew them together using a quarter-inch seam allowance.
Repeat: Repeat the block assembly process until you have enough blocks to complete the quilt top.
Finishes and quilting
Once you’ve assembled your quilt top, it’s time to add the finishing touches and prepare it for quilting. Follow these steps to complete your bird quilt:
- Layers: Lay the quilt top right side up, followed by the batting and then the backing fabric, ensuring all layers are smooth and flat.
- Basting: Use safety pins or temporary adhesive spray to baste the layers together, holding them in place for quilting.
- Quilting: Select a quilting design that complements your bird-themed quilt, then stitch all the layers together using your sewing machine or hand quilting techniques.
- Binding: Trim excess fabric from the edges of the quilt, then attach binding strips to finish the crossed edges and complete the quilt.
Downloading and Installing a Quilt App
To enhance your quilting experience, consider downloading a quilt app to access a variety of quilt patterns, tutorials, and inspiration on the go. Follow these simple steps to download and install a quilt app on your smartphone or tablet:
- App Store: Open your device’s app store (e.g. Apple App Store or Google Play Store)
- Search: Type “quilt app” in the search bar and get our results for a quilt app that meets your needs.
- Download: Tap the download button next to the quilt app of your choice to begin the installation process.
- Install: Once the app has finished downloading, tap the “Install” button to get it on your device.
- Open: Launch the quilt app from your device’s home screen and start exploring the world of quilting.
With these tips and instructions, you are ready to embark on this journey.
Let your creativity soar as you sew a masterpiece.
Happy quilting!