Unlike traditional Log Cabin quilts, which typically feature uniform strips of fabric, the Strips & Strings variation incorporates a mix of strip widths and fabric scraps.
This eclectic approach adds depth and visual interest to the quilt, making it a favorite among quilters of all skill levels.
Crafting a Strips & Strings Log Cabin Quilt begins with selecting a color scheme or theme for your project.
Whether you opt for a vibrant rainbow of hues or a more subdued palette, the key is to ensure cohesion and balance among the fabrics.
Once you have curated your fabric collection, it’s time to dive into the construction process.
Step 1: Gathering Materials
Before diving into the quilt-making process, gather the necessary materials:
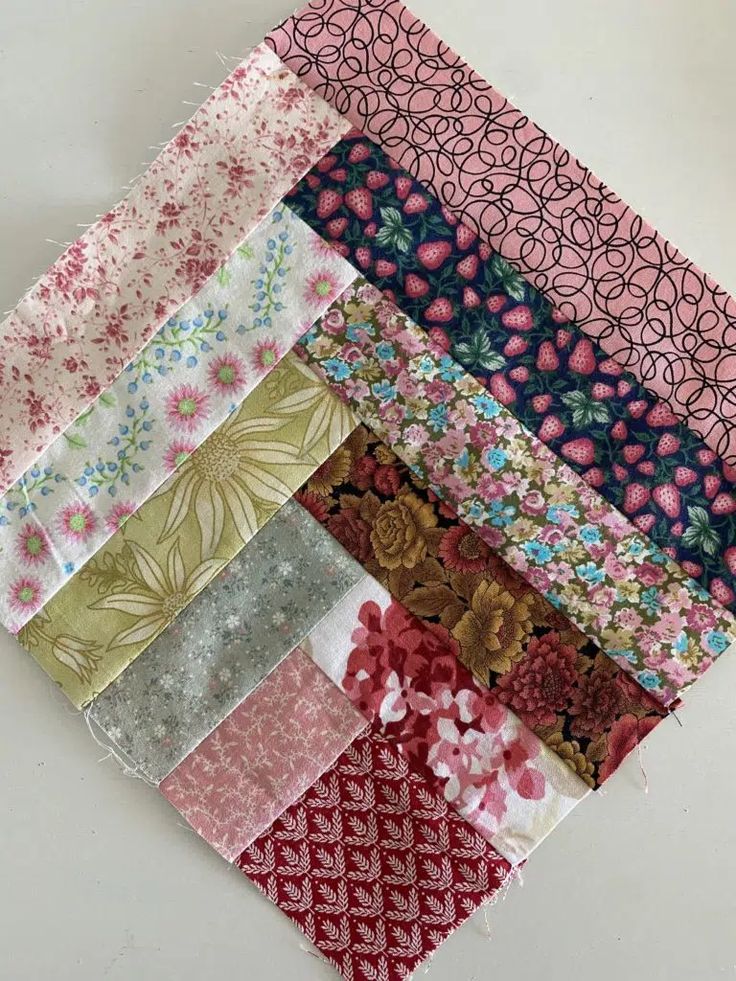
Fabric strips in various widths (e.g., 1.5″, 2.5″, 3.5″)
Fabric scraps in assorted colors and prints
Background fabric for the quilt blocks
Batting
Backing fabric
Thread
Rotary cutter, ruler, and cutting mat
sewing machine
Step 2: Cutting the Fabric
Begin by cutting the fabric strips and scraps into predetermined lengths according to your desired block size. For example:
Center square: 2.5″ x 2.5″
Strips for rounds: 1.5″ wide for first round, 2.5″ wide for subsequent rounds
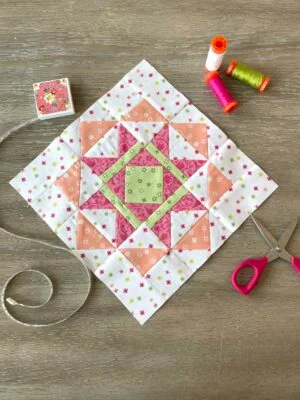
Step 3: Constructing the Blocks
Start with the center square and sew the first round of strips around it, ensuring each strip is aligned and sewn with a quarter-inch seam allowance.
Keep adding rounds of strips, alternating colors and widths to create visual interest.
Press the seams after each round to ensure flat, tidy blocks.
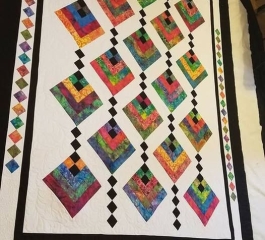
Step 4: Assembling the Quilt Top
Once you have completed multiple blocks, arrange them in a visually pleasing layout.
Experiment with different arrangements until you find the perfect balance of colors and patterns.
Then, sew the blocks together into rows, ensuring consistent seam allowances.
Step 5: Adding Borders and Finishing Touches
To frame your quilt top, add borders using coordinating fabric strips.
Measure the dimensions of your quilt top to determine the appropriate border widths.
Once the borders are attached, layer the quilt top with batting and backing fabric, then quilt as desired.