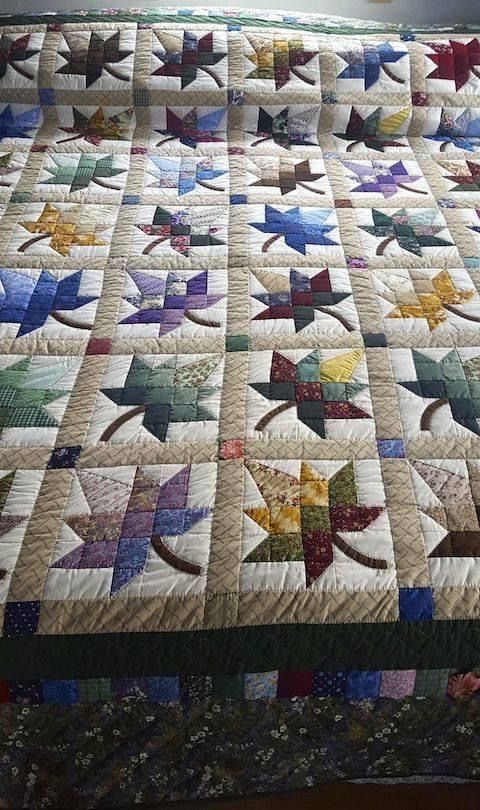
That last loop on a crochet blanket or the final seam of a quilt top can feel like crossing the finish line. Relief, pride, and then—suddenly—you're staring at edges that won't behave, borders that ripple, or yarn tails working loose after all your effort.
If you've ever sat back, only to notice your project looks a bit untidy despite hours of work, I know exactly how frustrating it can be. The smallest finishing touches, often overlooked, can turn a handmade piece from something you hide in a drawer to something you're genuinely proud to display.
Why a Solid Crochet Border Transforms the Result
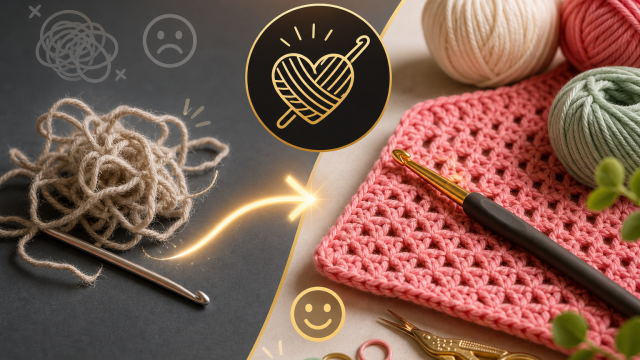
Trying to add a fancy border to a crochet project, only to find it waves or puckers? I've been there more than once, and every time it was because I skipped the foundation round.
Most borders that hold their shape begin with a row of single crochet. This first step creates a reliable base for decorative stitches—shells, picots, puffs or even delicate lace.
It's about more than support. That single crochet round smooths out the natural dips and peaks along the edge of your work.
Without it, corners tend to bunch up, and borders might flare out where you least expect. I remember the first time I attempted a scalloped edge without a foundation row: the result was a lopsided finish that never sat flat.
Once I started taking the time to lay down that initial round, my borders looked much neater.
Even spacing is crucial here. Down the sides of your work, it's easy to misjudge how many stitches to add, especially where rows end.
Work slowly and check as you go for a balanced look. When you get this part right, every decorative round feels easier.
After that base, feel free to experiment—shells, puffs, and elaborate edges all stay in place thanks to the hidden support underneath. You might not notice the foundation visually, but you'll certainly see the difference in the way the border behaves.
Weaving in Crochet Ends: Reliable Methods for a Neat Finish
Few things are more annoying than weaving in your last yarn end, only for it to pop out after the first wash. Weaving in ends is every bit as important as the border, but it's tempting to rush if you're eager to finish.
There are two main ways to do it: using a blunt needle for a whipstitch, or threading the tail under and over stitches for a nearly invisible join. With the whipstitch, I thread the remaining yarn through the backs of several stitches, switching direction at least once to anchor it securely.
For a cleaner look, I follow the yarn’s original path, gently sliding under each strand.
Dica importante: Always weave in your ends before blocking or sewing any seams. This helps the yarn settle properly with the fabric, reducing the risk of unravelling later.
A common mistake is trimming the tail too short, or weaving it through just a few stitches. In my experience, leaving a nice long tail and weaving it through several stitches in a few directions gives you the most secure finish. A few extra minutes spent now will save you headaches after a couple of washes.
These details matter, especially if you're gifting or selling your work. People do notice when a piece stays tidy even after repeated use.
Trimming and Prepping: Why Quilt Bindings Go Wonky
Binding is a stumbling block for many new quilters. Research shows that about 68% of beginners end up with wobbly or skewed bindings, most often because the trimming before binding isn't quite right.
After quilting your layers, it's tempting to grab the binding and get it over with. But if the quilt’s edge isn’t trimmed precisely, the binding will never look even.
The trick is to trim just outside the last seam—around 1/16" to 1/8"—instead of right at the seamline. This small allowance gives the binding something to hold on to and keeps all raw edges tucked away.
Before adding binding, I always sew a row of stay-stitching about 1/8" from the edge, especially on quilts with lots of tiny pieces or very soft, thick backings. These stitches keep everything together as you handle the quilt so seams won't split or fray when you're manoeuvring it.
Resumo rápido: Taking your time with a ruler for trimming and adding a single row of stay-stitching prevents most binding mishaps before they even start.
I learned this the hard way. When I rushed through trimming, my binding might look fine on one side and completely off on the other. Slowing down and using a ruler made all the difference.
Choosing and Applying Binding That Lasts
The binding method you pick really affects both the look and durability of your quilt. Double-fold binding, cut from 2.5" strips, is one of the easiest and most forgiving options—especially for beginners. It wraps two layers of fabric around the edge, making it more resistant to wear and washes.
Cutting your strips evenly keeps your binding consistent, and if you’re piecing multiple fabrics together, this matters even more. Double-fold binding is also forgiving of slight trimming errors and covers raw edges neatly.
Adding a row of stay-stitching before binding gives extra stability, which is particularly useful if you have lots of seams or a plush backing.
If you want a creative touch, pieced bindings using several fabrics or a plush, textured backing can make your quilt stand out. These add bulk, though, so pay close attention to your trimming and your sewing as you go.
From my own projects, I’ve found double-fold binding—measured and stitched carefully—holds up best over time. It also makes managing corners and curves much simpler, a real help when you’re still building confidence with binding.
Hand-Finished or Machine-Finished Binding? Making the Right Choice
Once your binding is sewn on, it’s time to decide: do you finish by hand or by machine? Each gives you a different end result.
Hand-sewing, the traditional way, uses a slip stitch or blind hem to secure the binding to the quilt’s back. The stitches are almost invisible, giving a soft and classic edge. I always choose hand-finishing for special quilts or if I want a really subtle, refined look.
Machine binding is quicker and perfect for everyday quilts. Use a walking foot and stitch about 1/8" from the edge on the front, catching all layers at once. Your stitches will show on the back, but if you use matching thread, it blends in and makes the quilt tough enough for daily use.
Neat, mitered corners are the sign of a polished finish. Fold the binding at a 45° angle at each corner, then turn and continue sewing. This technique reduces bulk and leaves a crisp point.
Dica importante: Practise your mitered corners on some scrap layers before trying them on your main quilt. Getting used to the folds and angles pays off when it matters.
I alternate between hand and machine finishes depending on the project. For keepsakes or gifts, I make time for hand sewing. For utility quilts, I admit the machine wins for speed and toughness.
Do Finishing Touches Really Matter?
You can always tell when a quilt or crochet piece has had care put into the finishing touches. Borders lie flat, edges are even, and there are no lurking ends or lumpy corners. If you skip or rush through these steps, loose tails and uneven borders crop up faster than you’d think.
The benefits go beyond looks. Well-finished projects survive washing, regular handling, and the ups and downs of daily life, so you spend less time fixing and more time enjoying your creations. There’s a real sense of satisfaction in handing over or displaying a piece and knowing it will last.
If you’ve ever felt your project was “nearly there” but not quite, try slowing down at the finishing stage and working through these tips with extra care. Which part of finishing in crochet or quilting gives you the most trouble—and which detail are you proudest of when it turns out just right?
Disclaimer: This article shares practical advice based on personal experience and does not replace professional guidance in textile conservation or restoration.