The moment you step back from your design wall and something about your quilt layout just feels wrong, it hits hard. All those hours matching fabrics and piecing blocks together, only to see the colours fighting or a single patch stealing the show for the wrong reason.
🧵 Master Your Quilting Layout Today!
I’ve been there—fabric scattered, squinting, swapping blocks, hoping for a trick that finally brings harmony. Laying out a quilt isn’t just a puzzle; it’s the step that transforms your initial spark into a finished piece you actually want to show off.
With a bit of practice, you can absolutely master this at home.
How Visual Weight Shapes Quilt Balance
Every block and shade in your quilt pulls its own visual weight—some demand attention, others slip quietly into the background. Bold prints and bright colours tend to stand out, while softer tones and subtle patterns recede.
If you group all the bolder blocks together, the quilt can look off-balance or heavy on one side. Spreading them at random sometimes makes things feel too haphazard. The key is to distribute these attention-grabbing elements so your quilt feels intentional and grounded.
I like to lay my blocks out on a table or pin them to the wall, then step back and take a good look. Seeing it from a distance makes it easy to spot empty spots or areas that dominate. Sometimes, just shifting two blocks is all it takes.
Using Photos to Refine Your Layout
Your phone’s camera is a surprisingly effective tool for adjusting quilt layouts. Once you’ve arranged your blocks, take a photo from a few steps away. Looking at a photo removes you from hours of up-close fussing and makes odd patches or imbalances jump out immediately.
Once you’re happy, jot down the row and column order—use a quick app markup or scribble it on a printout. This way, if you have to tidy up or come back later, you won’t lose your arrangement.
Dica importante: I’ve caught more than one awkward colour pairing just by looking at a quick photo before I started sewing. It’s so much easier to rearrange now than to unpick stitches later.
Odd-Numbered Grids and Clear Focal Points
Layouts with odd numbers—like 3×3, 5×5, or 5×3—naturally give your quilt a strong centre. The middle block or row becomes the visual anchor, making the whole piece feel organised. If you want to highlight a special block or a favourite fabric, this is a great method.
Even-numbered layouts split the centre between blocks, so the design sometimes feels less focused. Odd-numbered grids are a classic way to make a quilt look deliberate and balanced.
Try sketching your layout on paper or experimenting with a digital tool to see how changing the grid shifts the focus. If there’s a block you want to feature, put it right in that centre spot.
Rotating Blocks for Extra Interest
Quilts really come alive when you rotate blocks—flipping some 90°, 180°, or 270°. This can reveal new shapes and patterns, like chevrons or stars, or inject a sense of movement without needing new fabrics or complicated piecing.
This technique shines with blocks that aren’t perfectly symmetrical, like half-square triangles or log cabins. I remember one of my early quilts: just turning a few blocks gave a simple grid a spark, as if I’d planned an intricate design from the start.
Resumo rápido: Before you stitch, try rotating a few blocks on your layout. Sometimes one twist is all it takes to transform the whole look.
On-Point Settings for More Impact
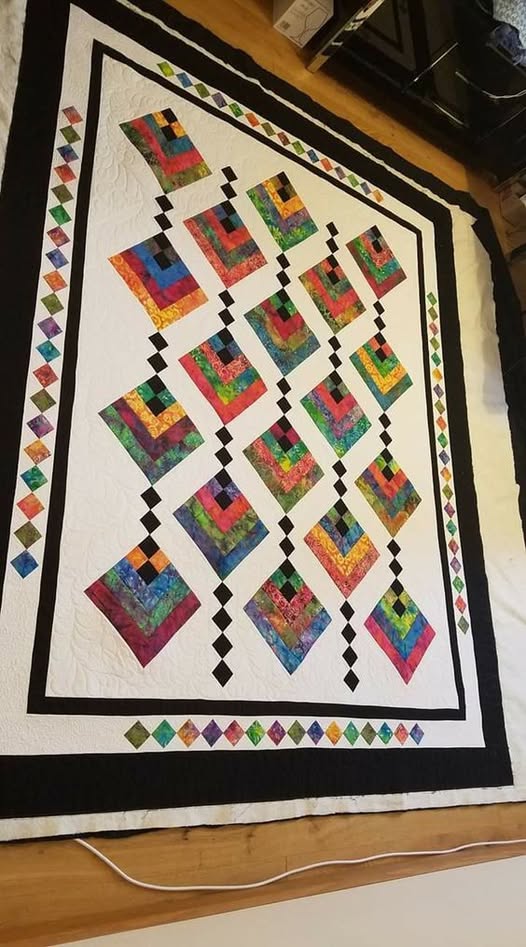
Arranging your blocks “on-point”—so they sit as diamonds—can make your quilt look about 40% bigger than a regular straight set. It’s a smart way to create a larger quilt without making extra blocks.
On-point layouts also introduce new angles and lines, making even the simplest blocks look more dynamic. You will need to include setting triangles around the edge, and your finished size will be different from a standard grid. If you’re unsure, lay out a small section or use a planner app to get a feel for it.
Digital Planning with Free Online Tools
There are some excellent free online tools for planning quilts. Yard, for example, lets you test layouts with grids, half-square triangles, and experiment with colours—right in your browser, no installs required.
With these tools, you can swap colours, try out arrangements, and preview borders or sashing. Seeing instant results helps you spot weak areas and tidy up your design before you cut any fabric.
If you’re new to digital planning, start with something simple. Even arranging a basic nine-block on a virtual planner can show options you might miss on paper. These tools are especially useful if your space is limited or you want to play with several layouts quickly.
Sorting Out Your Fabric and Cutting Calculations
Once your layout is set, the next challenge is making sure you have the right amount of fabric—no running out, no overspending. The Quilt Block Planner is a handy tool for this: it works out your cutting list, yardage, and binding lengths based on your chosen block size, layout, borders, and sashing.
Enter your details and the planner adjusts all the measurements. There’s no guesswork or rough sums. This is especially helpful for on-point quilts or when adding borders, since those can throw off standard calculations.
Always use a standard quarter-inch seam allowance in your sums, and assume about 40 inches of usable fabric width after cutting away the selvedge. This keeps your numbers realistic and helps you avoid shortages at the cutting table.
Measurements That Make All the Difference
Accurate measurements can make or break how your quilt turns out. Always add a ¼-inch seam allowance when working out your pieces.
Most quilting cotton gives you about 40 usable inches across once the selvedge is trimmed. Skipping this can leave you short or with blocks that don’t line up.
If you’re adding sashing or borders, factor those into your calculations as well. Even a small miscalculation can cause bigger problems down the line.
Resumo rápido: Double-check your maths and fabric amounts before you start cutting. It’s much easier to fix mistakes at this stage than after the rotary cutter comes out.
Sketching Out Your Quilting Plan
With the top finished, it’s time to plan the actual quilting. You’ve got three main approaches: all-over (using one motif everywhere), semi-custom (two or three motifs in different sections), or fully custom (four or more, each chosen for a particular block or area).
Before you start, sketch your ideas onto a printed photo of your quilt or use a drawing app. This helps you see how the quilting will flow and whether your designs add or distract from the patchwork.
In my experience, even a quick scribble has revealed where transitions might look awkward or where I could highlight a favourite block. Planning in advance gives you a clearer path, instead of making it up as you go.
Which Layout Approach Will You Try Next?
Next time you arrange your blocks, will you snap a quick photo, rotate a few blocks for a fresh look, or experiment with a digital planner? Each little step gets you closer to a quilt that feels balanced and truly your own. Which layout technique or tool do you want to test on your next quilt?
This guide is for educational purposes and does not replace professional quilting tuition.