Granny Squares: How to Join and add a Border

Hey everyone, welcome to Your Crochet Now once again. It is a happiness to know that you remember our blog when it comes to crafts. And do not think that here we work with a single technique. You’ll find a little bit of everything here, spend some time with us!

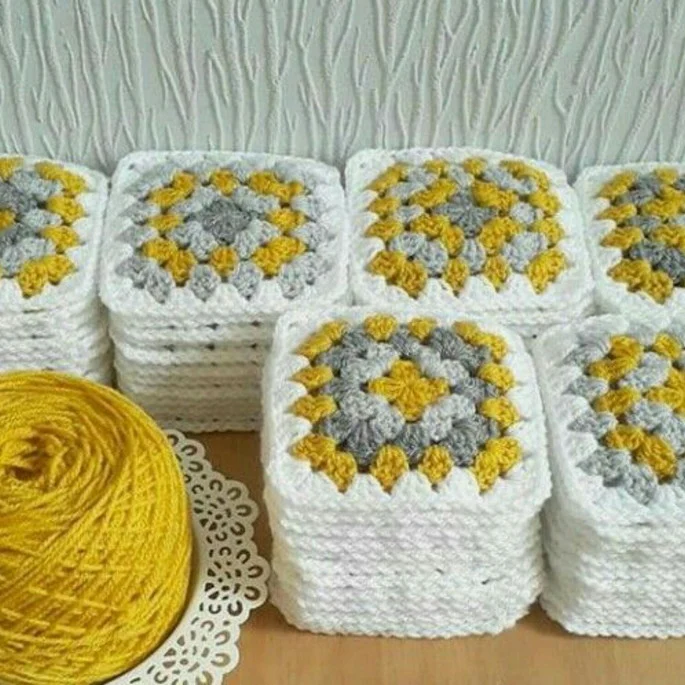
If you crochet around, you’ve definitely already made a granny square. These patterns are perfect for those who are starting out, learning the technique, or want to use the rest of the yarn from other projects. But what to do with so many squares if we don’t know how to join them or add a border in your final project?

With that in mind, which was a problem for us too, we brought you a pattern that will teach you exactly that, how to join and add borders to granny squares. With these tips you will be able to assemble blankets, coats, bags and everything your imagination allows.

Of course, to assemble different pieces such as coats or bags, you will need a little more practice. Knowing the amount of squares and how to arrange them to get the final format, but that’s a subject for another article. Now let’s focus on the stitches that we will need to join them.

Image / Pattern / Tutorial: Just Be Crafty

The focus of the pattern is to assemble a blanket. Measurements are described for two sizes, baby and throw blanket. Another thing to consider is the size of the granny square. In the pattern, squares of 2.5 inches by 2.5 inches were used. If your model is a little bigger, you will need to increase the amount of stitches until you complete the side of the square.

Did it get complicated? Don’t worry, it’s pretty simple to understand. The stitches are simple and you’ll soon realize if you need to do a few more or not. So, before anything else, come and read the pattern that is available on Just Be Crafty.

You Are Here: